DIY Shower Install
10 Tips for Successfully DIY Shower Install at Home
Are you looking to upgrade your bathroom with a new shower? Installing a shower by yourself can be an intimidating task, but it doesn’t have to be! With the right preparation and knowledge, installing a DIY shower can end up being easier than expected. Here are 10 tips for DIY shower install at home.
- Proper measurements: Before beginning your DIY shower installation, make sure you take accurate measurements of the space and determine where all of the necessary components need to be installed.
- Gather the materials: Make sure you have all of the necessary tools and materials for your DIY shower installation before you start. That way, you can double-check everything and avoid potential delays or issues due to lack of supplies.
- Follow the instructions: Before starting, read any instructions that come with your shower components and make sure you understand them. The instructions will be critical to making sure your installation is done correctly. This will help ensure a successful installation.
- Prepare the area: Make sure you clear out the installation space and prepare it for the new shower. This includes removing any existing fixtures, cleaning or painting the walls and ensuring that there is enough space.
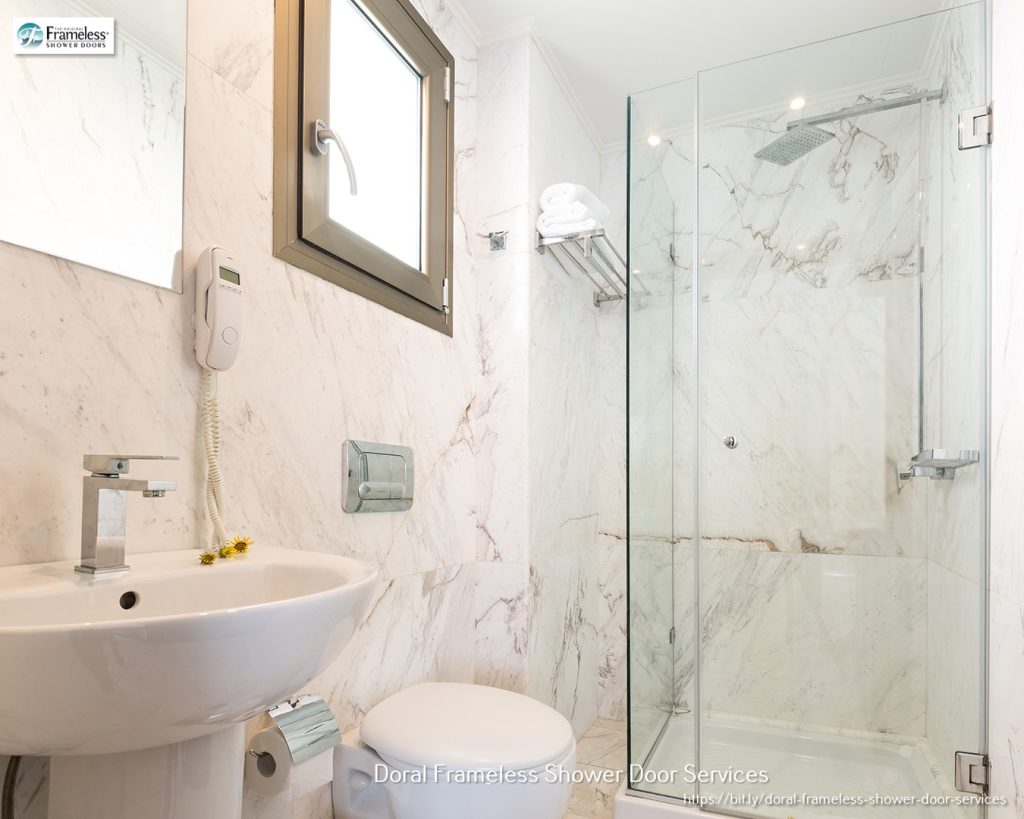
- Use waterproof materials: For safety reasons, make sure you use water-resistant materials, such as tile or fiberglass, for the shower walls and floors. This will help prevent water damage and ensure a longer-lasting shower.
- Install the base: Start by installing the base of your shower. Make sure the base is level and secured properly for a sturdy foundation. This is one of the most important steps in the installation process.
- Install the walls: After the base is installed, attach the walls of your shower to it. Make sure all connections are secure and watertight. This will help prevent leaks. It’s also important to caulk any gaps between the walls and base rail.
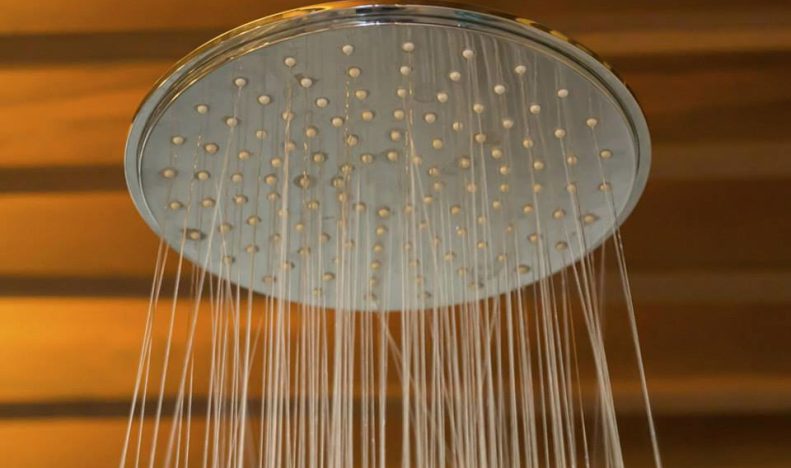
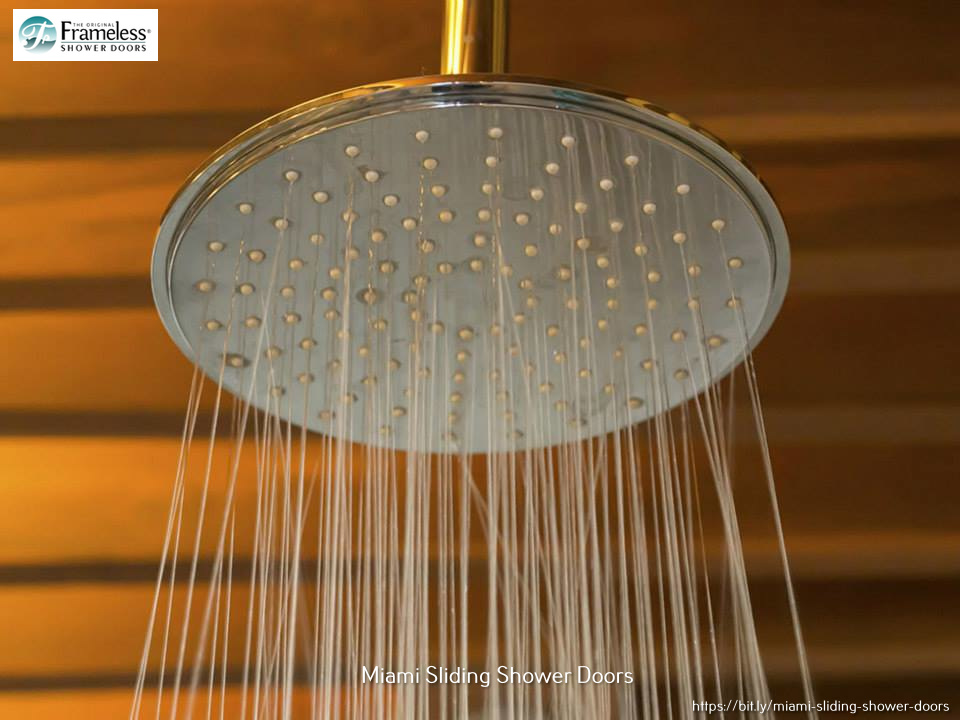
- Install the fixtures: This includes installing the shower head, faucets and spout. Make sure they are installed properly and adhere to any local plumbing codes. It’s also important to test the fixtures and ensure they’re working properly before moving on.
- Test the shower: Before finalizing your installation, do a test run to make sure everything is functioning properly and there are no leaks. This is a crucial step for ensuring your DIY shower installation is successful. It’s also important to check the pressure of the water and make sure it’s sufficient.
- Finishing touches: After the shower is installed, make sure to add any finishing touches you’d like, such as tiles, grout or caulk. This will help complete your DIY shower installation and make it look great. It’s also important to seal the tiles or grout with a water-resistant sealer.
By following these 10 tips, you can successfully install your own shower at home and save yourself some money. With the right preparation and knowledge, you can make this process easier than expected! Good luck!
The Original Frameless Shower Doors
https://www.google.com/maps?cid=190930357345986616
https://www.google.com/maps?cid=190930357345986616
3591 NW 120th Ave, Coral Springs, FL 33065
(954) 378-9792