Do It Yourself Shower Install

Do It Yourself Shower Install in Your Home: A Step-by-Step Guide
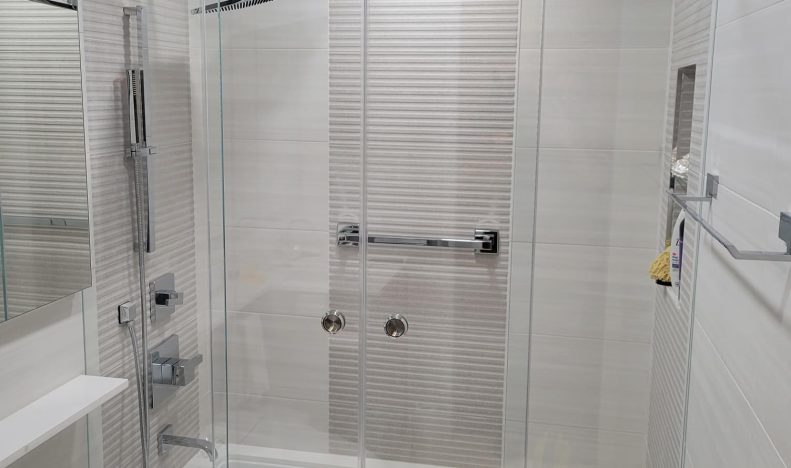
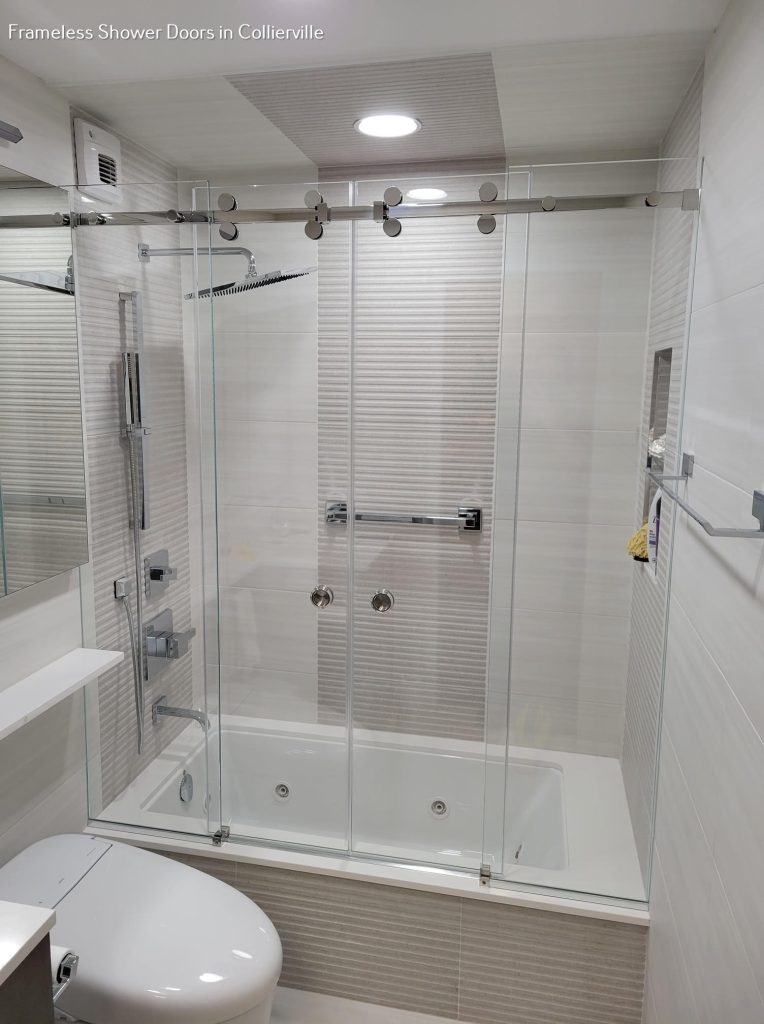
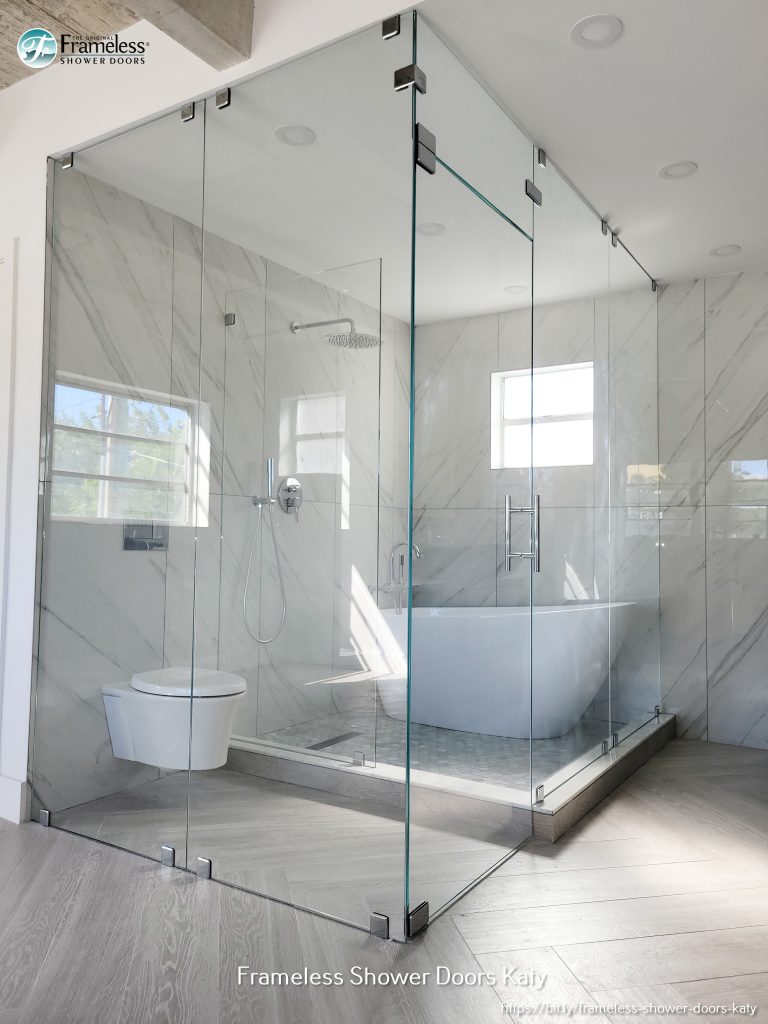
Do it yourself shower install in your home can be an exciting and rewarding project. Not only does it add value to your property, but it also provides you with the convenience of having a warm shower whenever you want! With just some basic tools, supplies, and knowledge, anyone can install their own DIY shower quickly and easily. This step-by-step guide will walk you through the entire process from start to finish so that you can get your new shower up and running in no time. With clear instructions for each step along the way, this guide is sure to make installing a DIY shower in your home easier than ever before. So what are you waiting for? Let’s get started!

- Gather the Necessary Tools and Supplies: Before you can begin installing your DIY shower, you’ll need to make sure you have all the necessary tools and supplies on hand. This includes a shower pan, drain assembly, pipe, trowel, silicone sealant, and other various parts and pieces. It’s also important to have some basic tools at the ready such as a drill, screwdriver, wrench, and type measure.
- Measure Your Space: Before you start drilling, cutting or making any modifications to your bathroom, you must first measure the space in which your new shower will fit. Take a few measurements to make sure everything fits properly and if necessary, adjust the measurements accordingly. This will also help you determine how much material you will need. It’s important to get these measurements right the first time in order to avoid costly mistakes.
- Prepare the Shower Pan and Drain Assembly: The shower pan and drain assembly are two of the most important components of your DIY shower. Start by preparing these parts according to the manufacturer’s instructions, using a trowel and silicone sealant to ensure everything is properly sealed. This will help to prevent water leakage and ensure that your shower is safe and secure. It’s important to take your time with this step so that everything is installed correctly.
- Install the Pipes and Fixtures: Once the shower pan and drain assembly are installed, it’s time to begin installing the pipes and fixtures. Start by connecting the shower pan to the drain assembly, then run the pipes from the drain assembly to the water supply. Make sure to use the appropriate fittings and pipe sealant to ensure a proper connection.
- Test and Finish: After all of the pipes and fixtures are installed, it’s time to give your new DIY shower a test run. Turn on the water and make sure everything is functioning properly. Finally, finish off the installation by adding any tile, grout or other fixtures you may want.
Congratulations! You have now officially installed your own DIY shower in your home. With a little bit of knowledge, the right tools and supplies, and some patience, you can now enjoy the convenience of having a warm shower whenever you want. So what are you waiting for? Get out there and start enjoying your new DIY shower today! Good luck and happy showering!

https://www.google.com/maps?cid=190930357345986616
