Install Shower Enclosure Dallas

How to Install Shower Enclosure Dallas
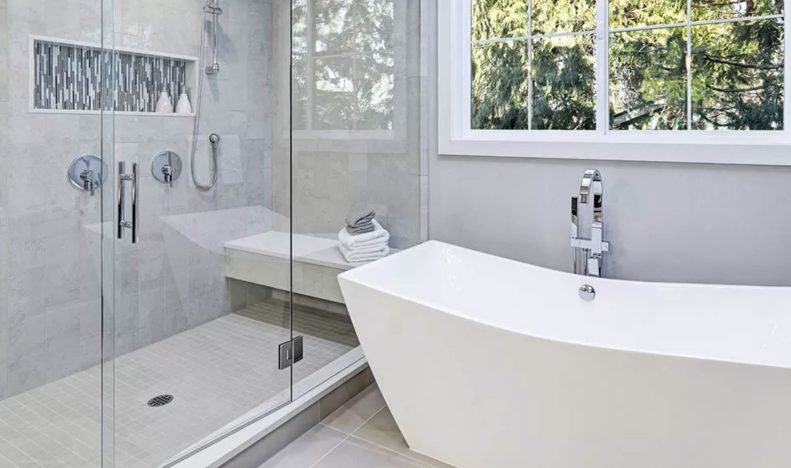
Installing a new shower enclosure is an excellent way to refresh your bathroom. You can choose from a wide range of options, ranging from simple framed enclosures to ultra-sleek frameless designs.
If you are going to install shower enclosure, make sure it is properly sealed. This will help protect the drywall and the wood studs from moisture damage.
Plan Out the Pieces
Before you begin building your shower enclosure, plan out all of the pieces that will go into it. This will allow you to know what you’re working with, and ensure that everything will fit together properly.
Once you’ve completed this, you can move onto installing your shower enclosure. Make sure you follow the manufacturer’s instructions carefully, including any special directions for installation and maintenance.
You should also check your plumbing to make sure it’s all compatible with one another, as well as the faucets and fixtures you plan to install. To ensure your shower enclosure is watertight, you’ll need to caulk the tops of the panels, as well as around the seams between them.
As you might have guessed, the tiniest shower enclosure actually consists of nothing more than a few cement boards and a little bit of adhesive. This is the best way to get a nice clean finish, and you can even use it on other areas of the house, if you like.
Build the Frame
A shower enclosure is a necessary fixture in modern bathroom design. Not only do they take up less space than a bath but are also much quicker to use and more water efficient.
The choice of shower enclosure is vast and depends on many factors such as the size and shape of the space in your bathroom and how you want it to look. You can choose from a wide range of different styles and finishes.
Hinged or pivot doors are a popular option for these types of showers, as they provide a clean, uncluttered look and can be easily installed. They consist of one or more glass lites with two or three hinges on each side and are available in a variety of sizes and styles.
To install a framed door and side panel, first make sure you have accurate measurements. Getting the frame and door right will help to ensure your new shower looks exactly the way you want it to.
Mount the Channels
Once your shower tray is in place and you have the frame set up, it’s time to mount the channels that hold your glass panels. This job requires a lot of measuring, positioning and checking to ensure everything is level.
Start by aligning the channels against the wall using a spirit level. This will make sure that they’re vertically level, and you’ll be able to mark the positions with a pencil so that you know where to drill.
Next, use an electric drill to make holes into the walls where you’ve marked them. Make sure to use a masonry bit, as it’ll avoid breaking up the tile.
Once the channels are installed, add a line of silicone sealer to the bottoms of the wall channels and the bottom door track. These will prevent water from seeping through the channel and the frame.
Mount the Sliding Door
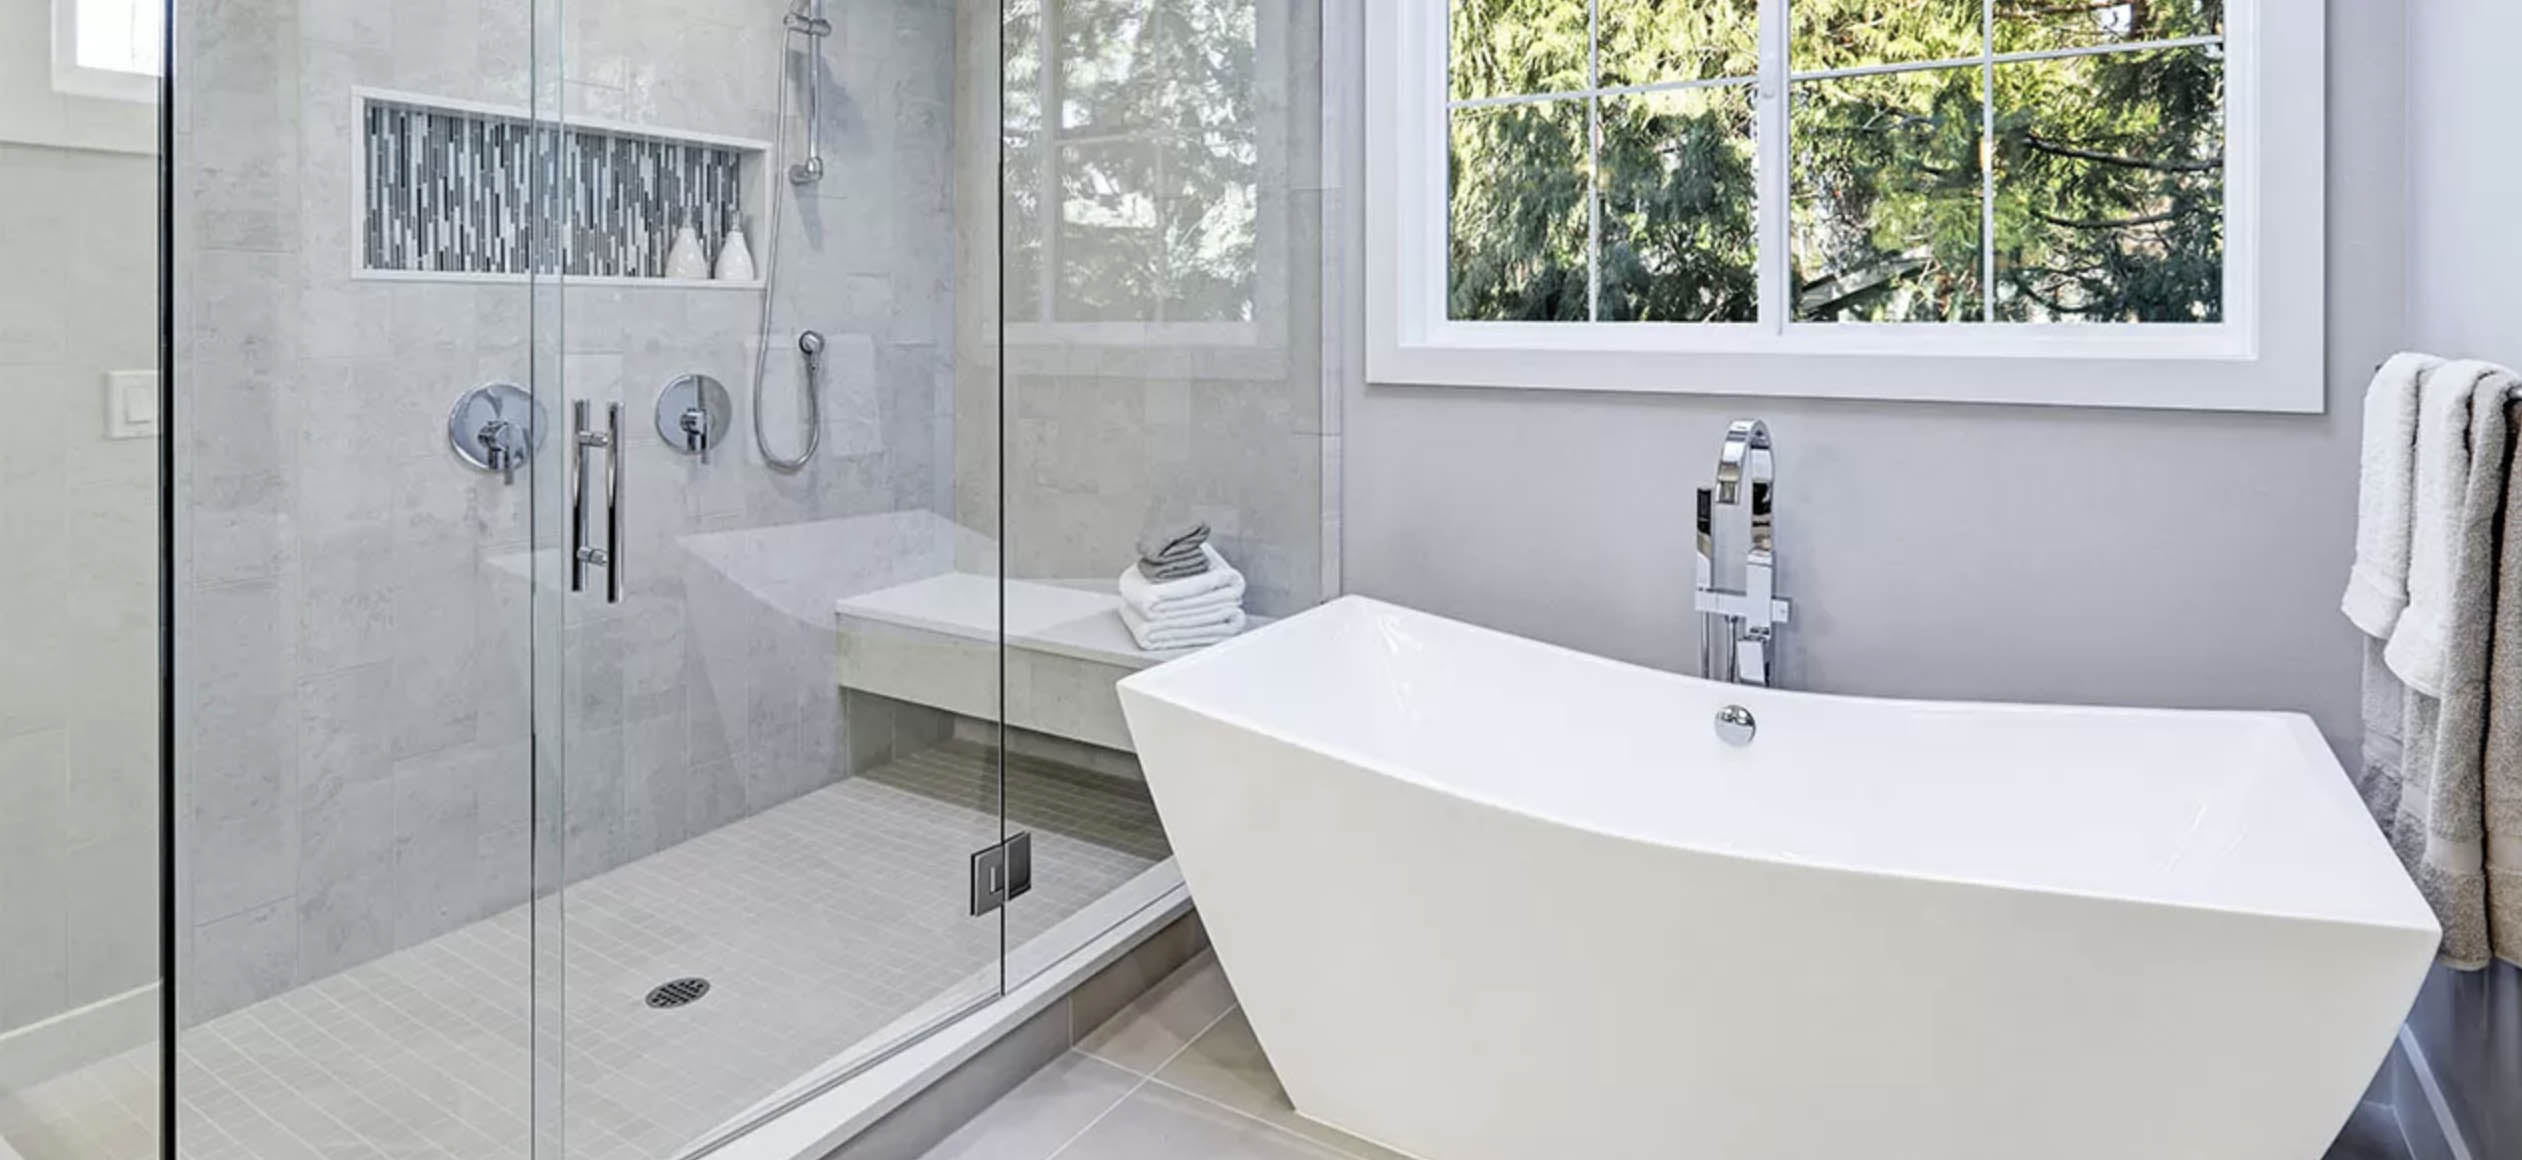
A frameless sliding door can be a beautiful addition to your shower space. They are also much more durable than curtains or hinged panels. However, they can be more expensive to install.
Before you start installing the enclosure, make sure that the wall where you want the doors to be mounted is level and free of cracks or holes. This will allow water to drain properly without leaking out into the room.
You should also make sure that the walls are reinforced. This will prevent them from buckling when you open and close the doors.
Once you’ve made these adjustments, you can start mounting the doors. Be sure to use a spirit level to ensure that they are straight and align with the walls of your bathroom.
Lastly, make sure that you install the handles on the glass panels of the shower enclosure. These will be secured to the glass by a set of screws.