Shower Kits Complete with Base Walls and Doors
Everything You Need to Know About Installing Shower Kits Complete with Base Walls and Doors
Are you looking to upgrade your bathroom with a brand new shower kit complete with base walls and doors? If so, you have come to the right place! Installing a shower kit is easy if you are familiar with basic tools and techniques. In this article, we will provide everything you need to know about installing shower kits with base walls and doors. From selecting the right materials for your project to putting all of the pieces together, we will walk through each step of the installation process in detail.
Installing a shower kit complete with base walls and doors can be a daunting task, but it doesn’t have to be! With the right tools and knowledge, you can easily transform your bathroom into an oasis of relaxation. Whether you’re looking for something simple or want a more luxurious experience, this guide has got you covered. So read on and get ready to turn your bathroom dreams into reality!
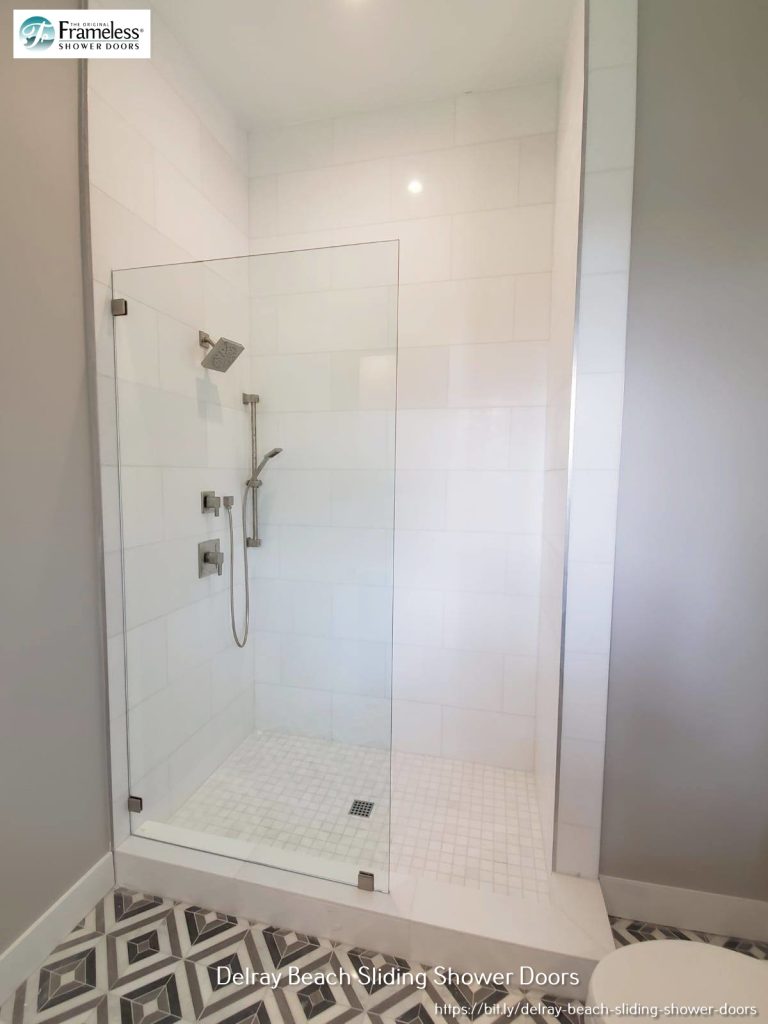
- The first step to installing a shower kit is selecting the right materials for your project. You’ll need to choose between acrylic, fiberglass, and tile for the walls, as well as deciding on a type of door. Acrylic is most commonly used and is typically cheaper than fiberglass and tile, but it’s also not as durable or long-lasting. Fiberglass is a great option for those looking for something more heavy-duty, while tile offers a classic and elegant look. Once you’ve chosen the right material, it’s time to move on to the installation process.
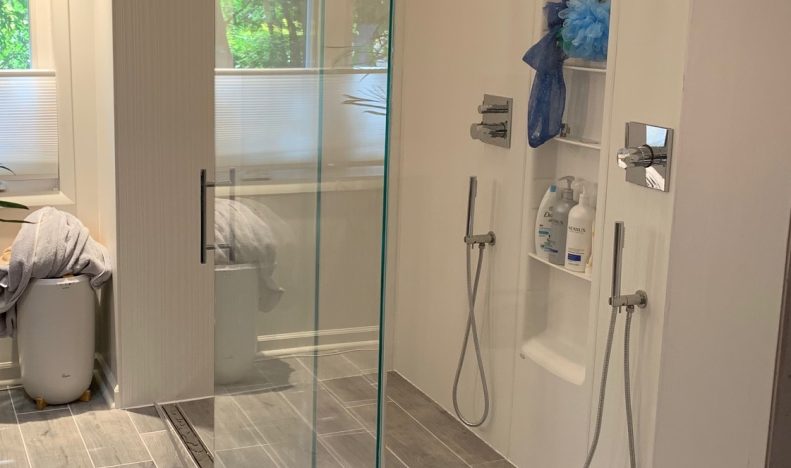
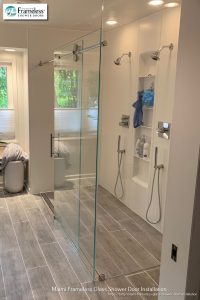
- The next step is to install the base walls. Make sure you measure the space correctly so that you know exactly what size and shape of walls to buy. You’ll also need to take into account any pipes or electrical outlets that may be in the way. Once your walls are securely mounted, you can begin to work on installing the doors. This step requires a bit more precision as your door needs to be perfectly level and secure. Use a level to ensure everything fits correctly and adjust as needed.
- Another key step in installing a shower kit is caulking all of the seams and edges. This helps to ensure that your new shower is watertight, as well as providing a more finished look. Once you have caulked all of the necessary areas, it’s time to add the finishing touches. This includes installing the shower head, handle, and other accessories. Make sure that everything is properly secured and tested before using your new shower.
- Finally, you’ll need to finish the project with any necessary accessories. This can include a shower curtain, grout, sealants, and more. Make sure you follow the instructions carefully and don’t forget to caulk any seams or edges to prevent water from seeping in. With all of these steps completed, you’ll be ready to take your first shower in your newly remodeled bathroom!
Installing a shower kit complete with base walls and doors may seem intimidating at first, but with the right tools and knowledge it can easily become a reality. It is important to select the right materials, measure and install the walls correctly, and finish with any necessary accessories. We hope this guide has given you the information you need to successfully complete your project. All that’s left is for you to get started – happy installing!
https://www.google.com/maps?cid=190930357345986616